

How to Replace Water Filters
Replacing water filters means shutting off the water, removing the old filters, cleaning inside the unit, fitting the new filters the right way round, checking for leaks and draining the first tankful. Below we go through each step with photos taken on real jobs in Antalya.
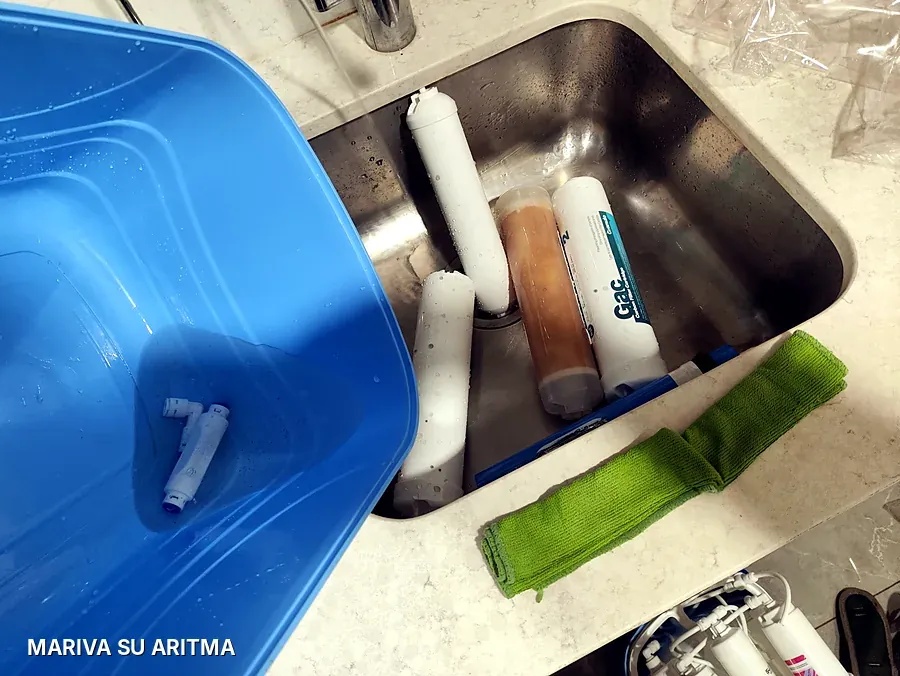
When are the filters replaced?
In home reverse osmosis systems, the pre-filters (sediment, granular carbon and carbon block) are usually replaced every 6 months, the reverse osmosis membrane every 12–18 months and the post-carbon filter most often every 12 months. With Antalya's hard water, pre-filters fill up sooner in some homes. We explain the intervals in detail, and the signs that replacement is due, in our article When should water filters be replaced?
Before you start: the right filter set
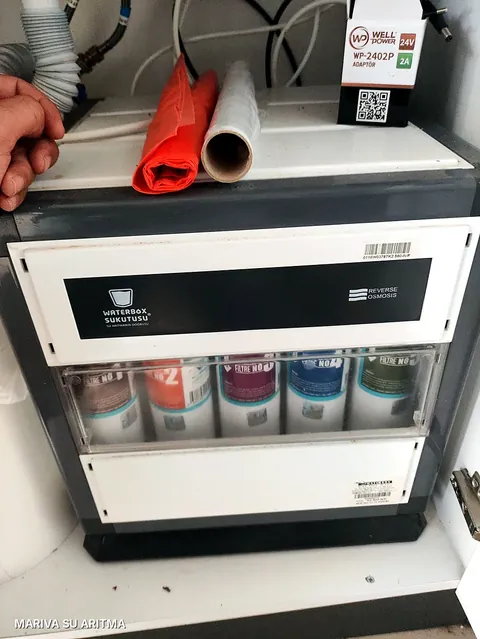
The first job is to find the right filters for your system. Home systems use two types of filter. Inline (capsule) filters connect to the tubing with fittings at each end and are replaced as a whole. Housing-type filters have a clear or white housing; you open the housing and replace the cartridge inside. Connection types and sizes vary from brand to brand, so if your system is another brand, just send us its make and model or a photo of the filters, and we will bring the right set.
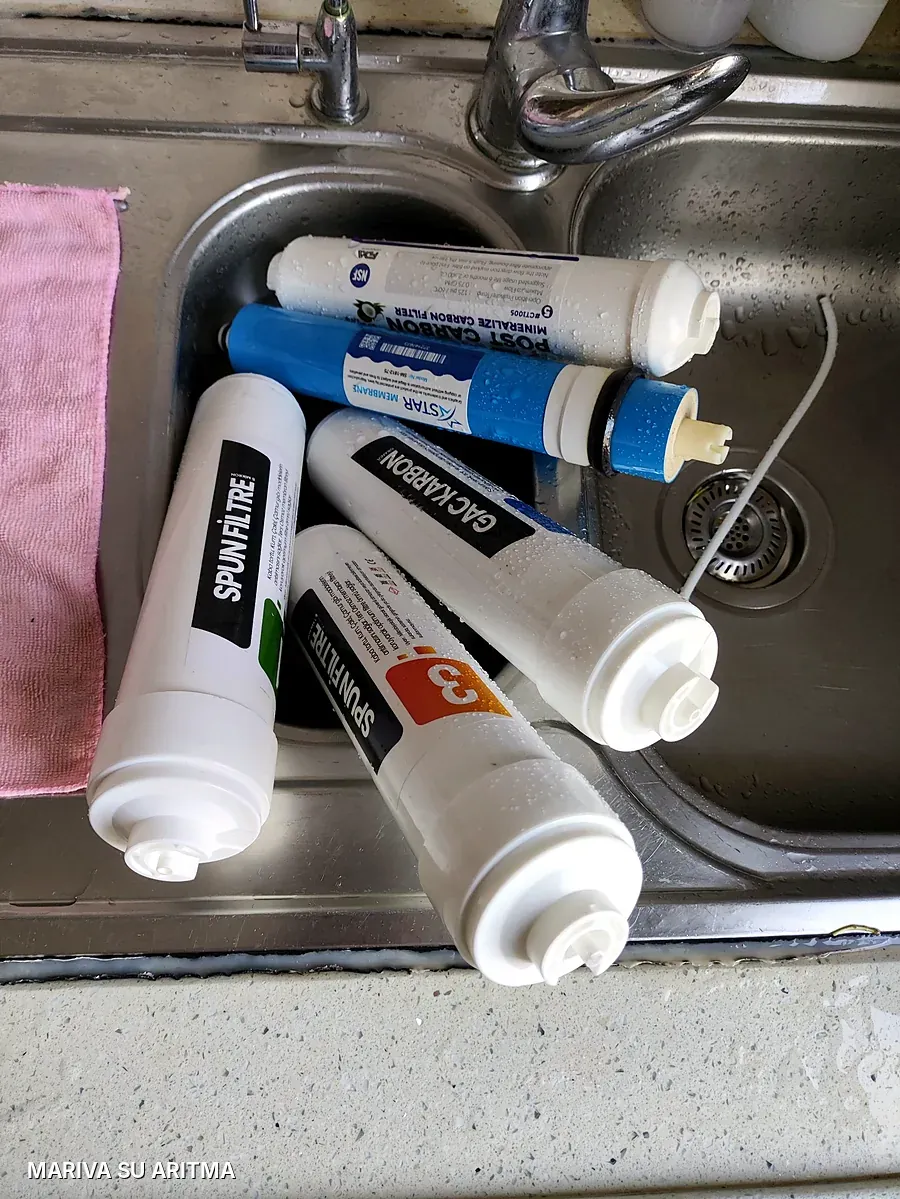
You will also need a bowl or bucket, a dry cloth and a towel. Some water stays inside the filters you remove, so it is a good idea to lay a towel down to protect the cupboard under the sink.
Filter replacement step by step
1. Shut off the water and the tank
Close the inlet valve connecting the system to the cold water supply. Then close the small valve on top of the tank and open the filtered water tap to release the pressure left in the line. If you remove a filter before the pressure is released, water will spray out and the fittings will be strained.
2. Remove the old filters
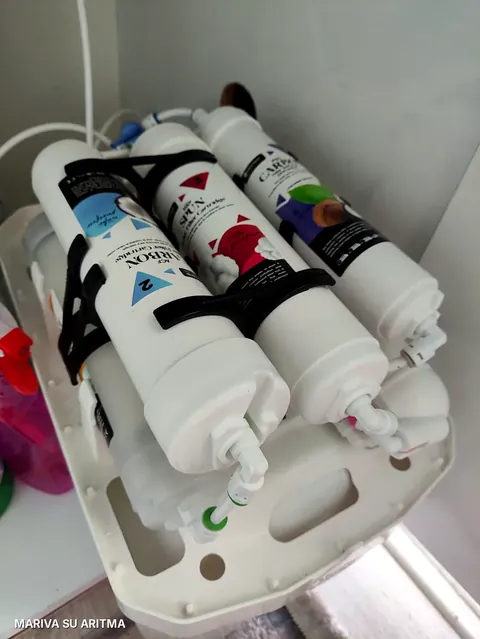
For inline filters, press in the locking collar on the fitting and pull the tube out to release the filter. For housing-type filters, loosen the housing with its spanner and take out the cartridge. Taking a photo before you start makes it easier to remember which tube goes to which filter.
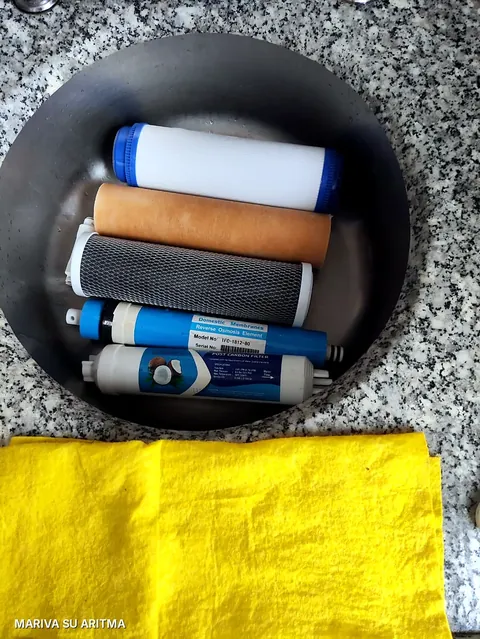
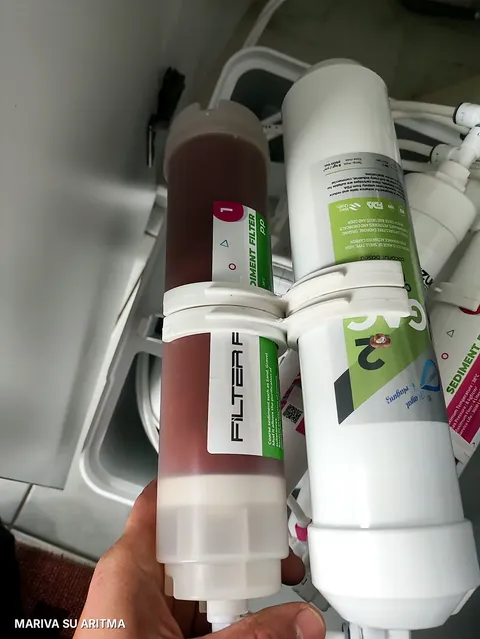
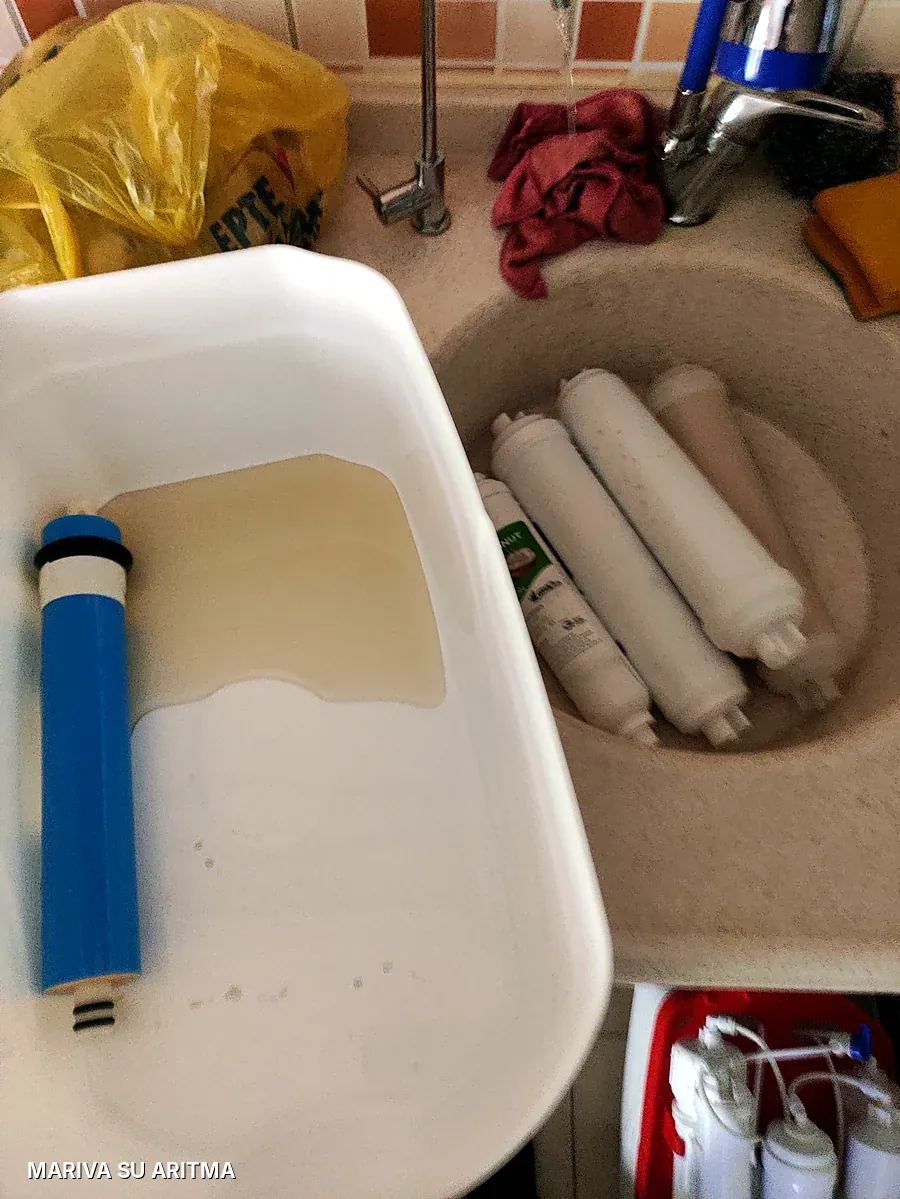
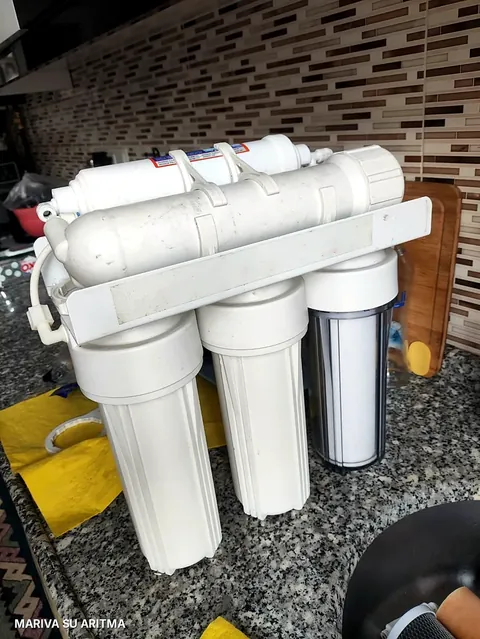
The photo on the right shows why replacement should not be put off: the sediment filter traps sand, rust and sediment from the mains water and eventually fills up completely. A full sediment filter slows the flow and puts more strain on the carbon filters after it.
3. Clean inside the unit
Once the filters are out, you can see the water and dirt that have collected in the unit's casing and filter slots. Clean the casing with warm water and dry it. Also wash the housings and seals of housing-type filters; if a seal is cracked or squashed, replace it. Most leaks come from a squashed seal.
4. Fit the new filters the right way round
The arrow on inline filters shows the direction of flow. A filter fitted backwards either gives no water at all or its filter media is dislodged. Fit the filters in stage order (1, 2, 3) and push the tubes fully into the fittings; when you pull back gently, the tube should not come out. For housing-type filters, seat the cartridge in place, tighten the housing by hand, then give it a little extra with the spanner. Overtightening squashes the seal.
5. Replace the membrane if needed
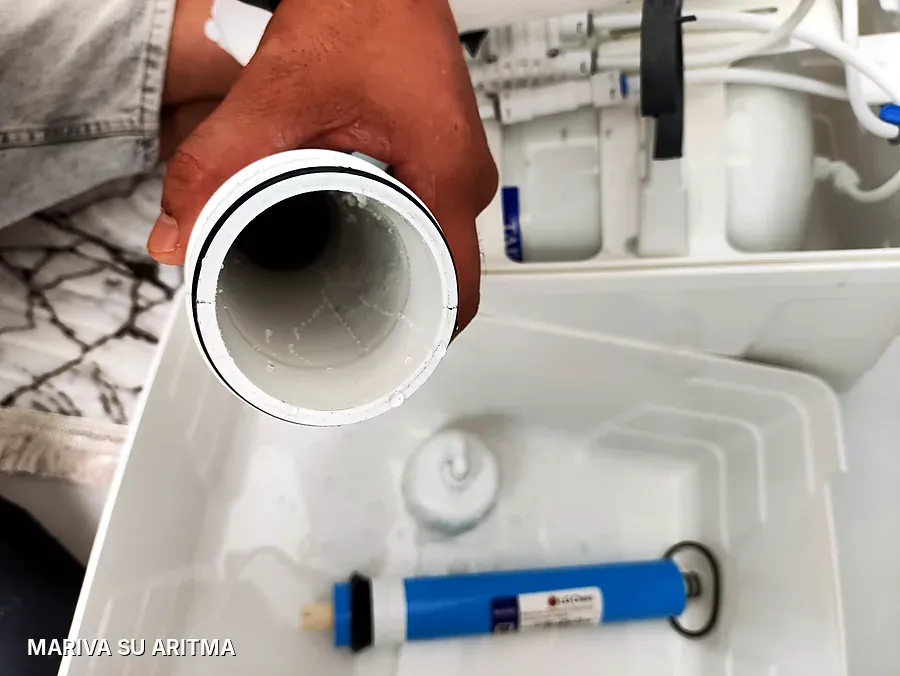
The membrane is not replaced every time, usually every 12–18 months. If it is due, open the cap of the membrane housing, pull the old membrane out and push the new one into the housing with the sealed end first. We explain what the membrane does and what shortens its life in our article What is a membrane filter?
6. Turn the water on and check for leaks
Open the inlet valve slowly and wait for the system to fill with water. Feel every fitting and housing connection with a dry cloth. If the cloth gets wet, remove that connection and refit it. Checking again a few minutes later is the only way to catch slow leaks.
7. Drain the first tankful
Open the tank valve and wait for the tank to fill, then drain that first tankful through the tap. The fine carbon dust in new carbon filters is flushed out with this first water. Any cloudiness in the water in the first few minutes is usually air and clears in the glass within a few seconds.
8. Measure the TDS of the water
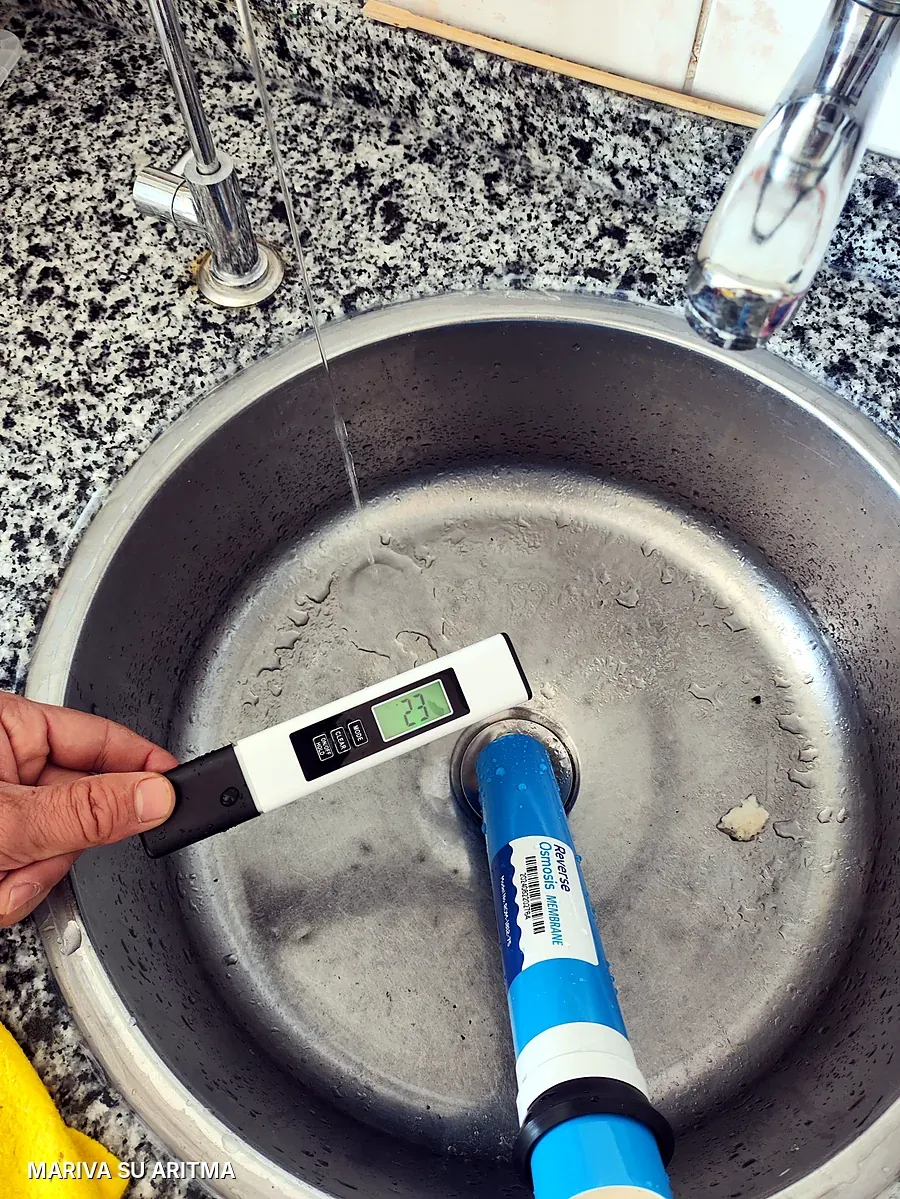
The final step is to measure the TDS of the filtered water. When you measure mains water and filtered water separately, the difference shows whether the system is working properly. With our home systems, filtered water is usually in the 35–60 range; on the system below we measured 23 after the replacement. We explain what this reading does and does not tell you in our article What is TDS?
Before and after replacement
Can you replace the filters yourself?
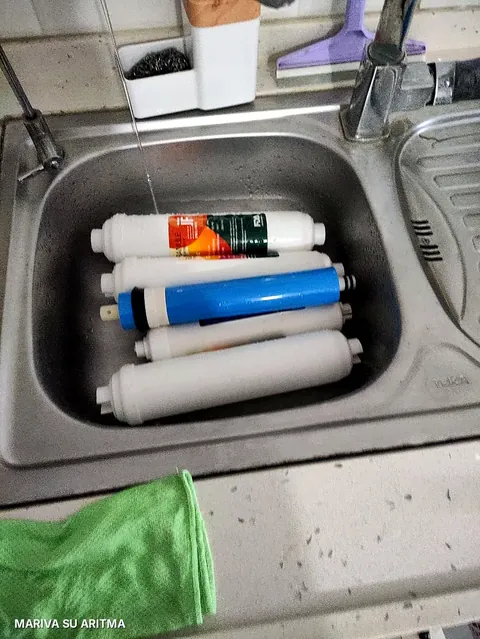
On a system with inline filters and simple connections, you can replace the filters yourself if you have found the right filter set. Still, be aware of three risks: a filter of the wrong size or fitted in the wrong order, water leaking all night from a fitting that has not seated properly, and a membrane that is overdue but has not been replaced. When we do the replacement, we also check the connections, the tank and, on systems with a pump, the pump, and finally measure the TDS of the water and show you the result.
In Antalya, filter replacement costs from 1200 TL and takes about 30 minutes at your home. In Kepez, Muratpaşa, Konyaaltı, Aksu, Lara and Döşemealtı we can usually come out on the same day. Details are on our filter replacement page.
Questions about filter replacement
How long does a water filter replacement take?
On a home system, filter replacement takes about 30 minutes, including the leak check and TDS measurement.
Are all the filters replaced at the same time?
No. Pre-filters are usually replaced every 6 months, the membrane every 12–18 months and the post-carbon filter most often every 12 months. We open the system and decide together which filters need replacing.
Why does the water look white after a filter replacement?
The whiteness you see in the water after new filters are fitted is usually air, and it clears in the glass within a few seconds. The first tankful is drained to flush out the dust from the new carbon filters.
Do you replace filters on other brands of system?
Yes. Just send us the make and model of your system or a photo of the filters on WhatsApp, and we will bring the right filters.
More guides
- When Should Water Filters Be Replaced?How many months each filter lasts, what shortens that time, and the signs that a change is due.
- What Is a Membrane Filter and When Should It Be Replaced?How does a reverse osmosis membrane work, what does it remove, why does it wear out and how can you tell it is time to replace it?
- Water Filter Maintenance and Signs of FaultsWhat you can do at home, signs such as leaks and water running non-stop, and what a service visit checks.
Leave your filter replacement to us
Filter replacement in Antalya from 1200 TL. After the replacement, we measure the TDS of your water and show you the result.